We get this question often. Refinishing woodworking can be a tedious project to undertake, but using quality products and investing time can leave you with a beautiful, satisfying finished look. It is also an update that is easier on the wallet than completely replacing your woodworking or cabinets. Whether you are wanting to do this yourself or are curious what our process is, this blog post should help answer your questions!
Here is what we have learned from years of experience.
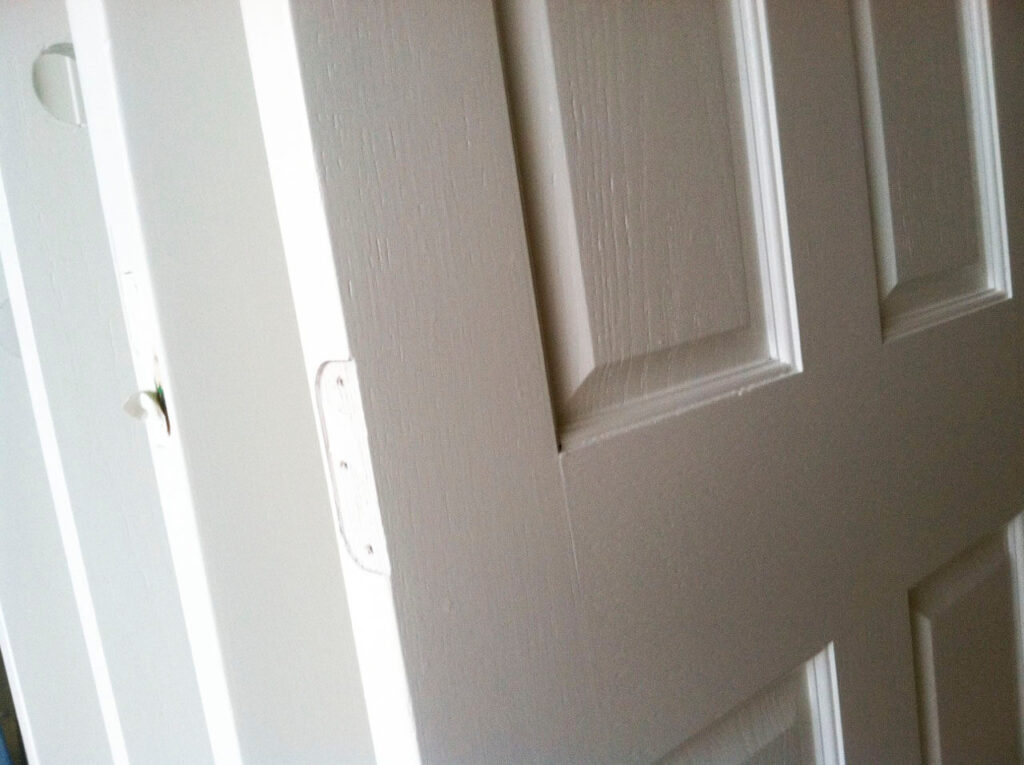
In summary, the entire process will include prepping the finished wood, painting one coat of primer and two coats of finish paint. For cabinetry we recommend taking off all the hardware and taking cabinet doors and drawers off to paint individually. In doing three coats total, this saves time in the long run. Hardware can be taped off to protect from paint if one decides not to disassemble them. It is very important to label your cabinet doors or actual doors. The best place to do so, is to number each door behind the area where hinges have been removed. It is sometimes a good idea to label with a sharpie, then put a piece of tap over this area in case paint gets on the label.
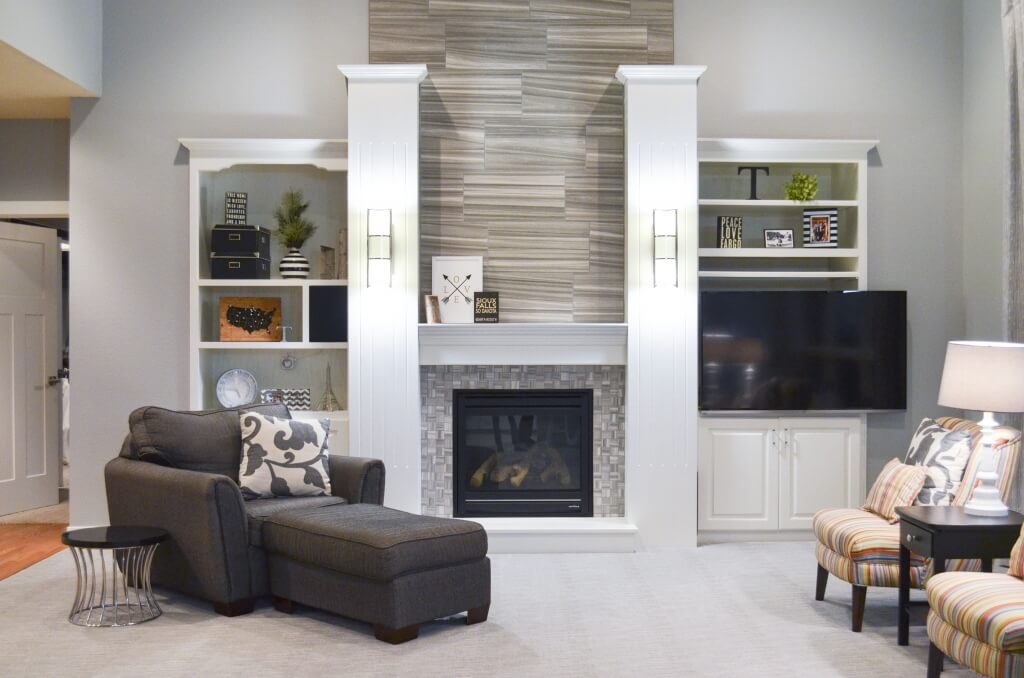
For our customers, we often take cabinet fronts off to be sprayed in the shop. Although brushing everything still gives a nice finish, spraying cabinetry in the shop gives a nice factory finish. We take care of transportation (wrapping doors to protect them) and re-hanging of everything. Usually, the same goes for doors as well.

Steps
- Prep
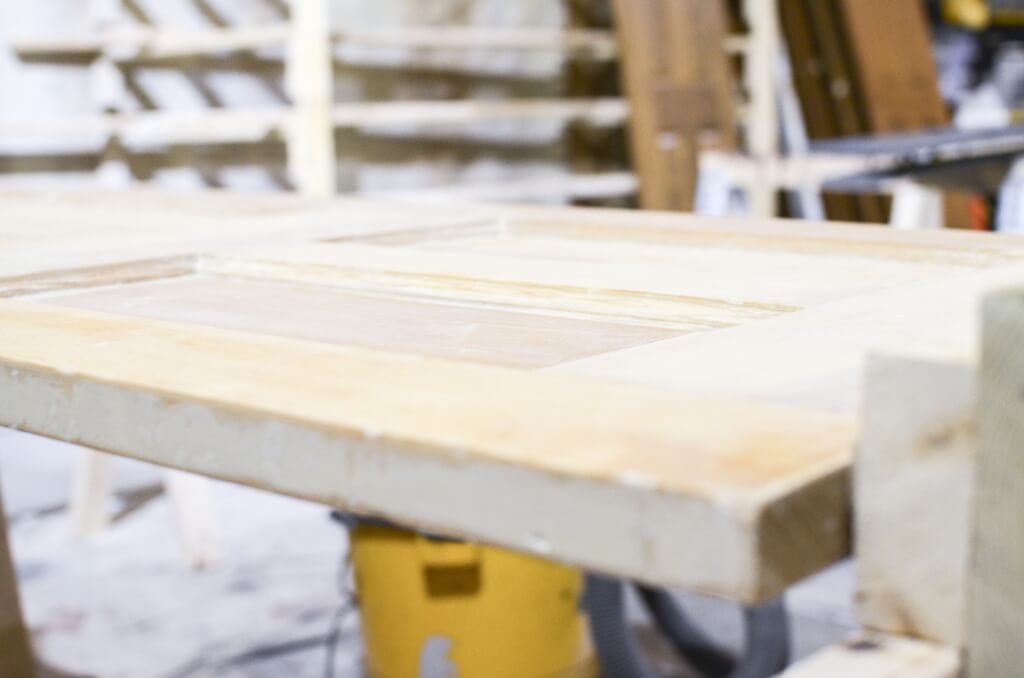
Prepping wood can be done two different ways. The classic method of sanding woodworking is the first option. This process breaks down the previous finish, helping the paint bond to wood rather than sitting on top of the varnish or polyurethane. When sanding, use medium-grained sanding blocks and sand the wood so that it becomes chalky and no-longer shiny. For an even smoother finish, sand again with fine-grained sandpaper. If the sealant is thick, you can sand with a power-sander. Be careful, however, not to damage the wood. Sand every area and edge, and also into the cracks or grooves with the sanding block. After sanding, wipe away all dust from surfaces using a clean rag.
The other option that eliminates sanding involves a product called WilBond. Wilbond is sold at Norbergs, Sherwin Williams, and most home improvement stores. This is a very strong, potent product that breaks down the woods previous finish. In some cases we don’t recommend using it in the home, but if one can open windows and ventilate well the smell only lasts the day or two.
Pour Wilbond onto a rag, saturating the cloth, and wipe it on finished wood some-what heavily. Work it in until the finish of the sealant becomes slightly tacky. The Wilbond is breaking down the finish, creating a better bond for the paint. One thing to remember is primer needs to be applied 30 minutes after Wilbond is used. Any longer than a half hour the product will dry on the surface, letting the sealant resettle. It is smartest to work in sections.

- Priming
Once a section has been prepped go ahead and paint the first coat of primer. For cabinetry, follow the grain of the wood. Paint the smaller sections and grooves first, letting your brush strokes start and stop mimicking how each piece was built. Finish with large strokes on the larger areas.
In some cases, we also recommend doing any minor caulking or wood-puttying after priming. For paneled cabinet doors or regular doors there might be small gaps where wood meets or knots in wood that will show more now when painted. Filling these will improve the overall finished look.
We recommend Seal Grip Latex Primer (sold at Norbergs) or Fresh Start Latex Primer (sold at Sioux Falls Paint and glass or Benjamin Moore stores). These are high quality, durable primers. Consider using older brushes for priming.
- 1st Coat and Finish Coat
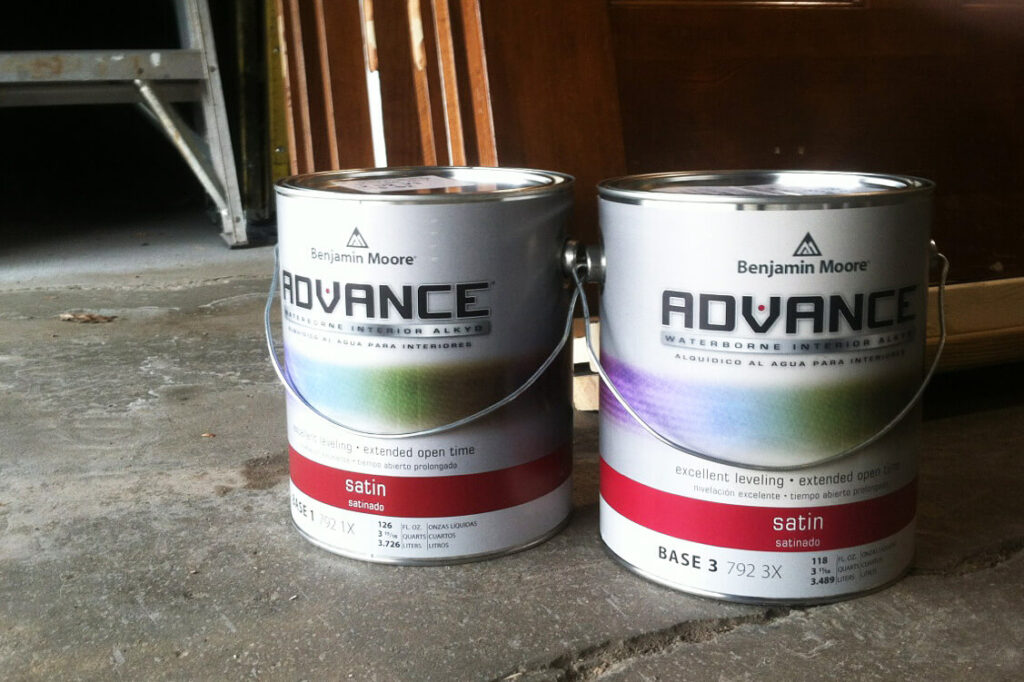
For the next two coats we recommend Benjamin Moore Advance Latex Paint, Satin finish (sold at Sioux Falls Paint and Glass). This has been our favorite product to use. A comparable product but lower price-point we recommend is Sherwin William’s ProClassic. For finish, a satin finish will be best to give enough shine to be easily cleaned but still a soft look. Benjamin Moore Advance covers very nicely. The brush strokes level out well and can be subtly touched up if needed. This paint has a great longevity and durability.

Lastly is dry time and re-assembly. We recommend around 3 hours between coats (for latex paints) but paint can dry to the touch sometimes sooner. The longer someone waits the better paint will cure (dry) overall. The more colorant put in paint, the longer it will take to cure. You can choose to hang doors and reassemble hardware when paint is dry to the touch but again, the more time given to dry the less chance for chipping and scratching, which means a nicer finish.
Good luck, and we hope this was helpful!
